
Mastering the Rapids: Eleven Essential Preparations for Whitewater Canoeing Instructors
Written by Sterling Faculty, Adrian Owens in June 2023
The whitewater canoeing season in Vermont is brief, beginning in late March when the rivers shed their icy cover and continuing until the end of April when flow levels diminish as trees and plants awaken and draw water from the soil. To fully capitalize on the naturally flowing rivers, it is crucial to prepare in advance. While my advice stems from my class instructor experience, it applies to anyone gearing up for spring paddling adventures.

Warm up. Reserve the local pool for a two-hour session of introductory canoe strokes, capsize and rescue practice, and a swim test for students. This approach is far less intimidating than attempting these activities on a frozen lake. In northern Vermont, lakes will be frozen for another month, even as the rivers begin to rise. For kayakers, a pool session is an excellent way to tune up your roll before heading out onto the river. Since there are no dam releases later in the year to boost water levels, the whitewater paddling season around Craftsbury is relatively short. As a result, we start paddling on easier sections while the weather is still cold, allowing us to develop fundamental skills before the rivers swell with the spring run-off.
Clean up. Find the sponges and buckets for washing the road spray off the canoes before bringing them into the pool. These same items will be utilized again at the end of the semester to clean the canoes and flotation devices, reducing the risk of spreading any exotic aquatic species.
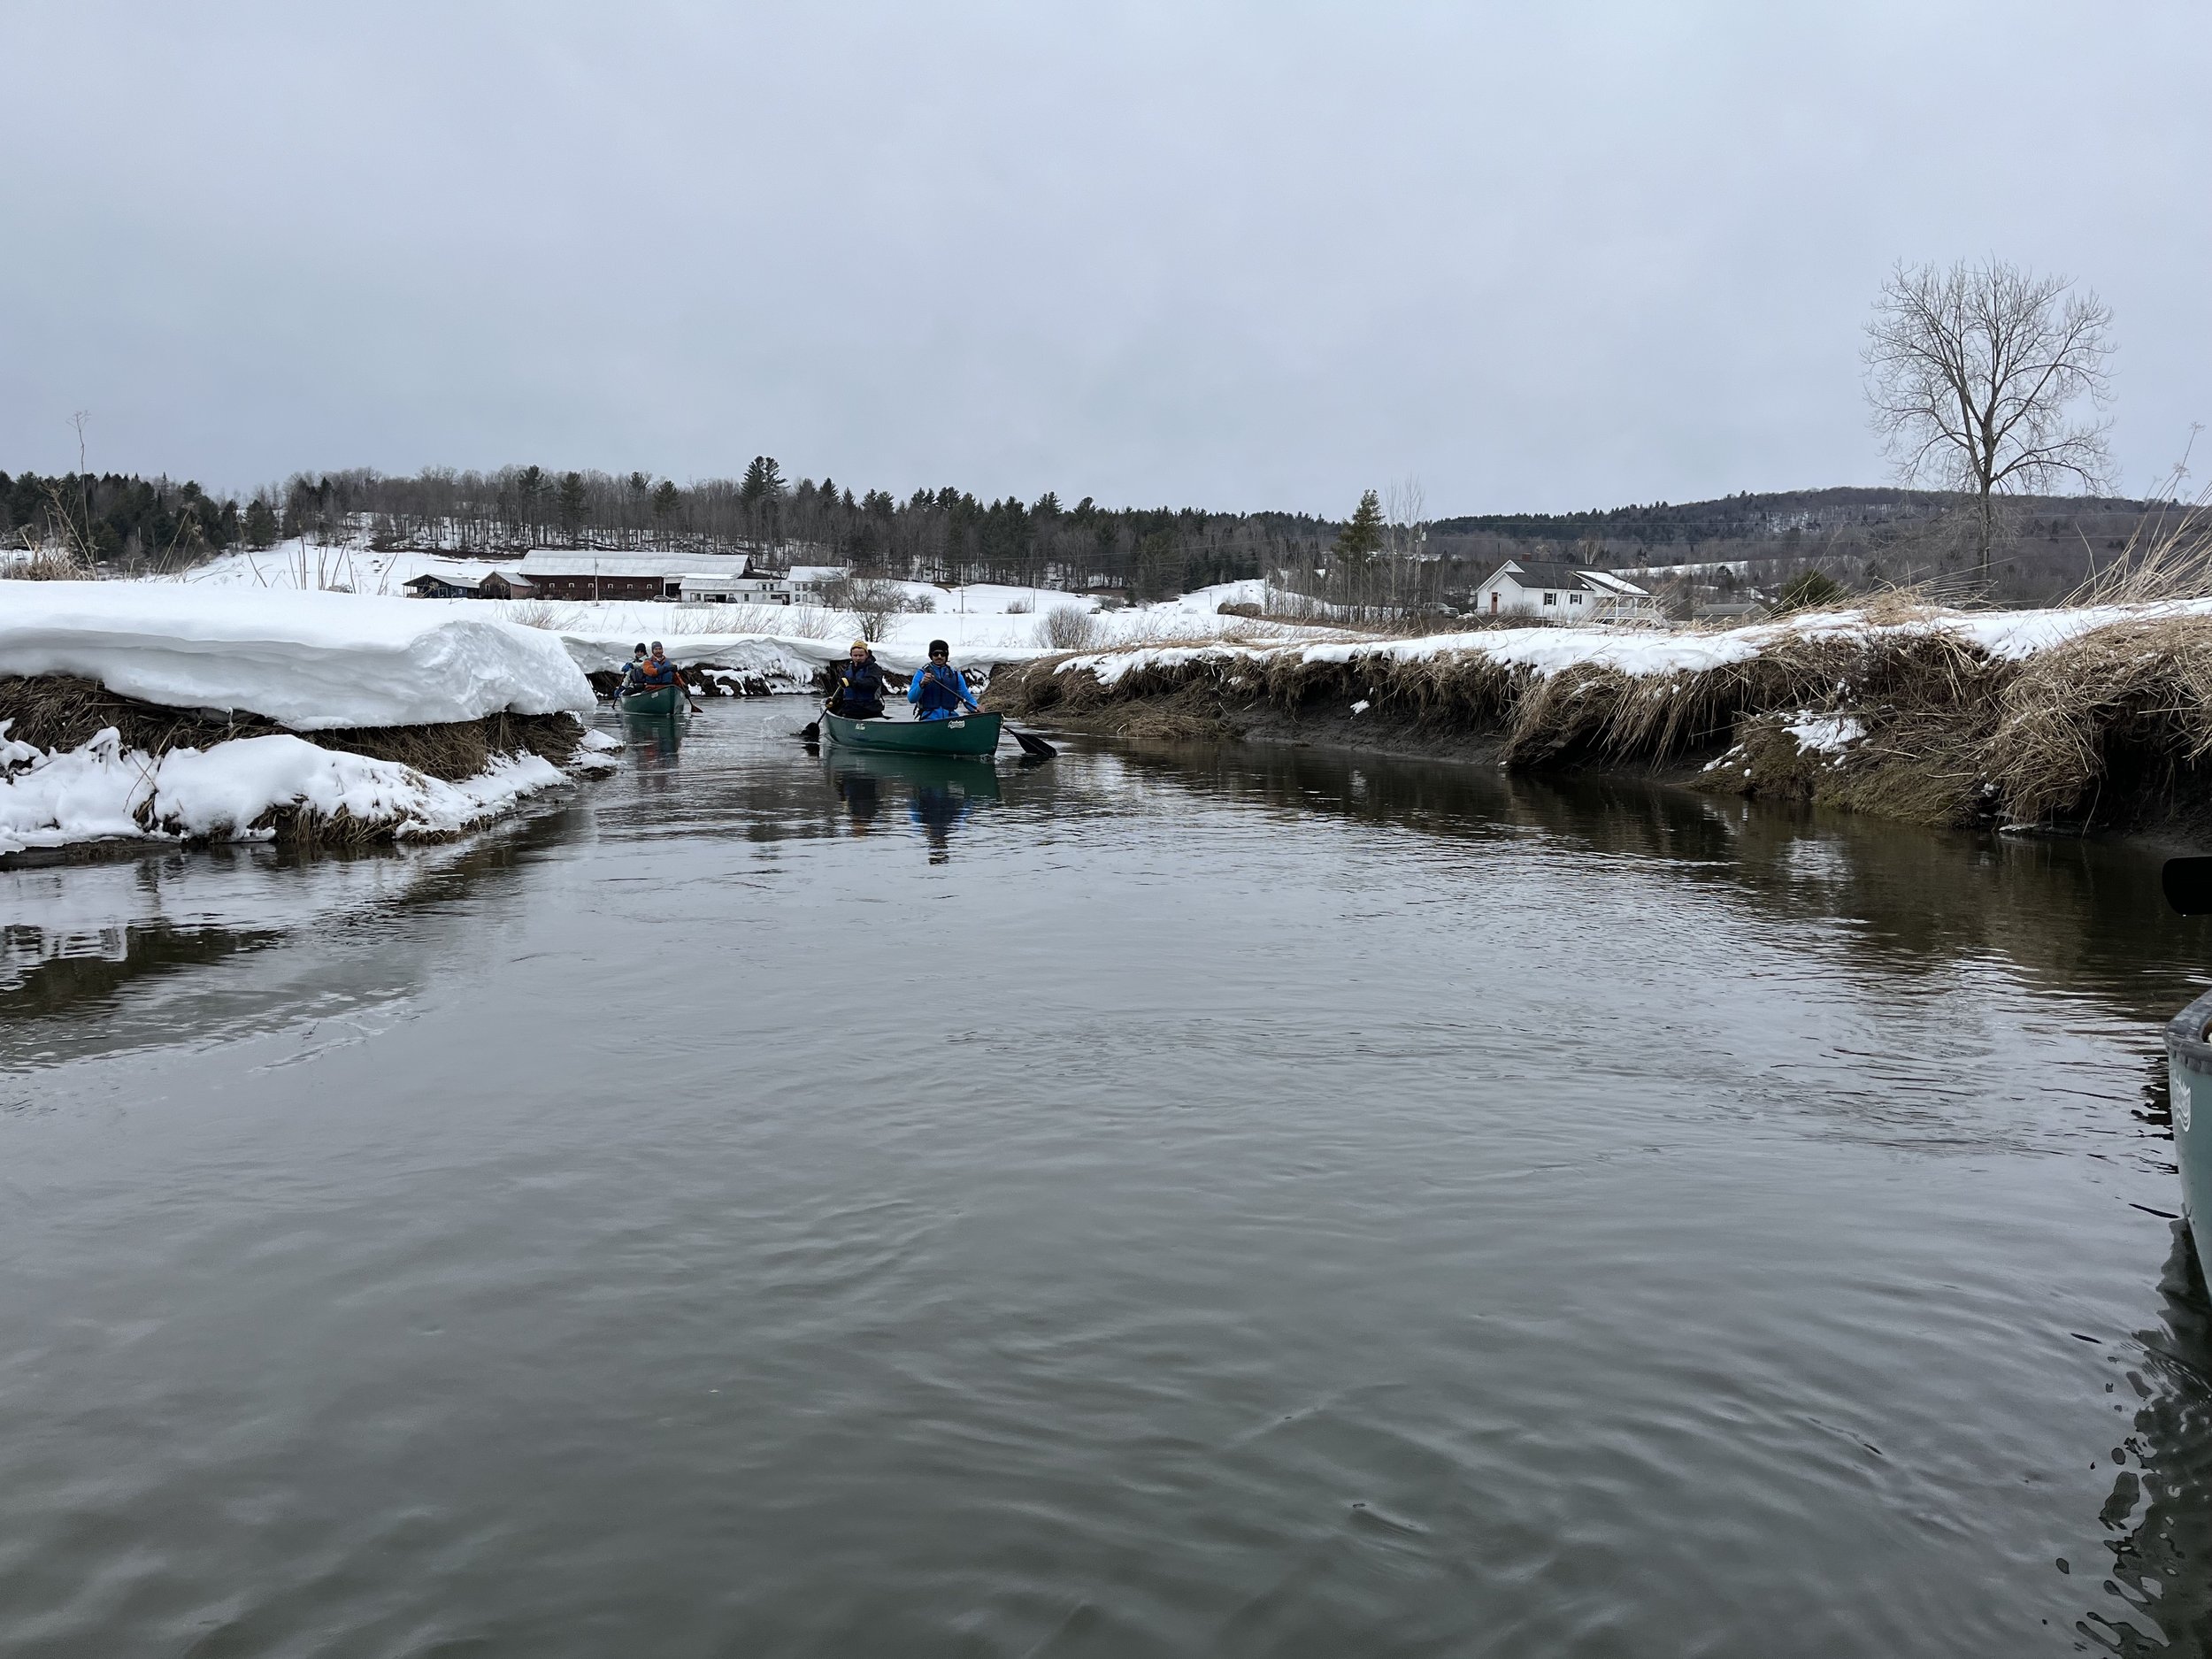
Pre-Scouting. Super important from a safety perspective. Sometimes you can scout from a vehicle or along the roadside. Pay close attention to any downed trees, ice jams, and open water, and take the opportunity to refresh your memory about the locations of challenging rapids and safe eddies. This year’s late snow allowed me to scout the first easy river section by skiing along its back for approximately 3 miles. As the snow melts and water levels rise, this floodplain will be sufficiently deep to paddle across. During my scouting, I spotted one log completely blocking the river. When the river rose a couple of weeks later, the log floated downstream and ended up jammed across the river. To create a passageway wide enough for canoes on the left side of the river, I had to drag one end up on the right bank.
Buddy Up. It is highly recommended to find a co-instructor or paddle partner. This will be easy if you’ve been paddling with the same friends for a while. However, it takes more than a quick session to understand each other’s strengths and weaknesses and build trust. Even if you aren’t teaching, having a partner along on a river enhances the enjoyment and the likelihood of a timely rescue should the need arise.
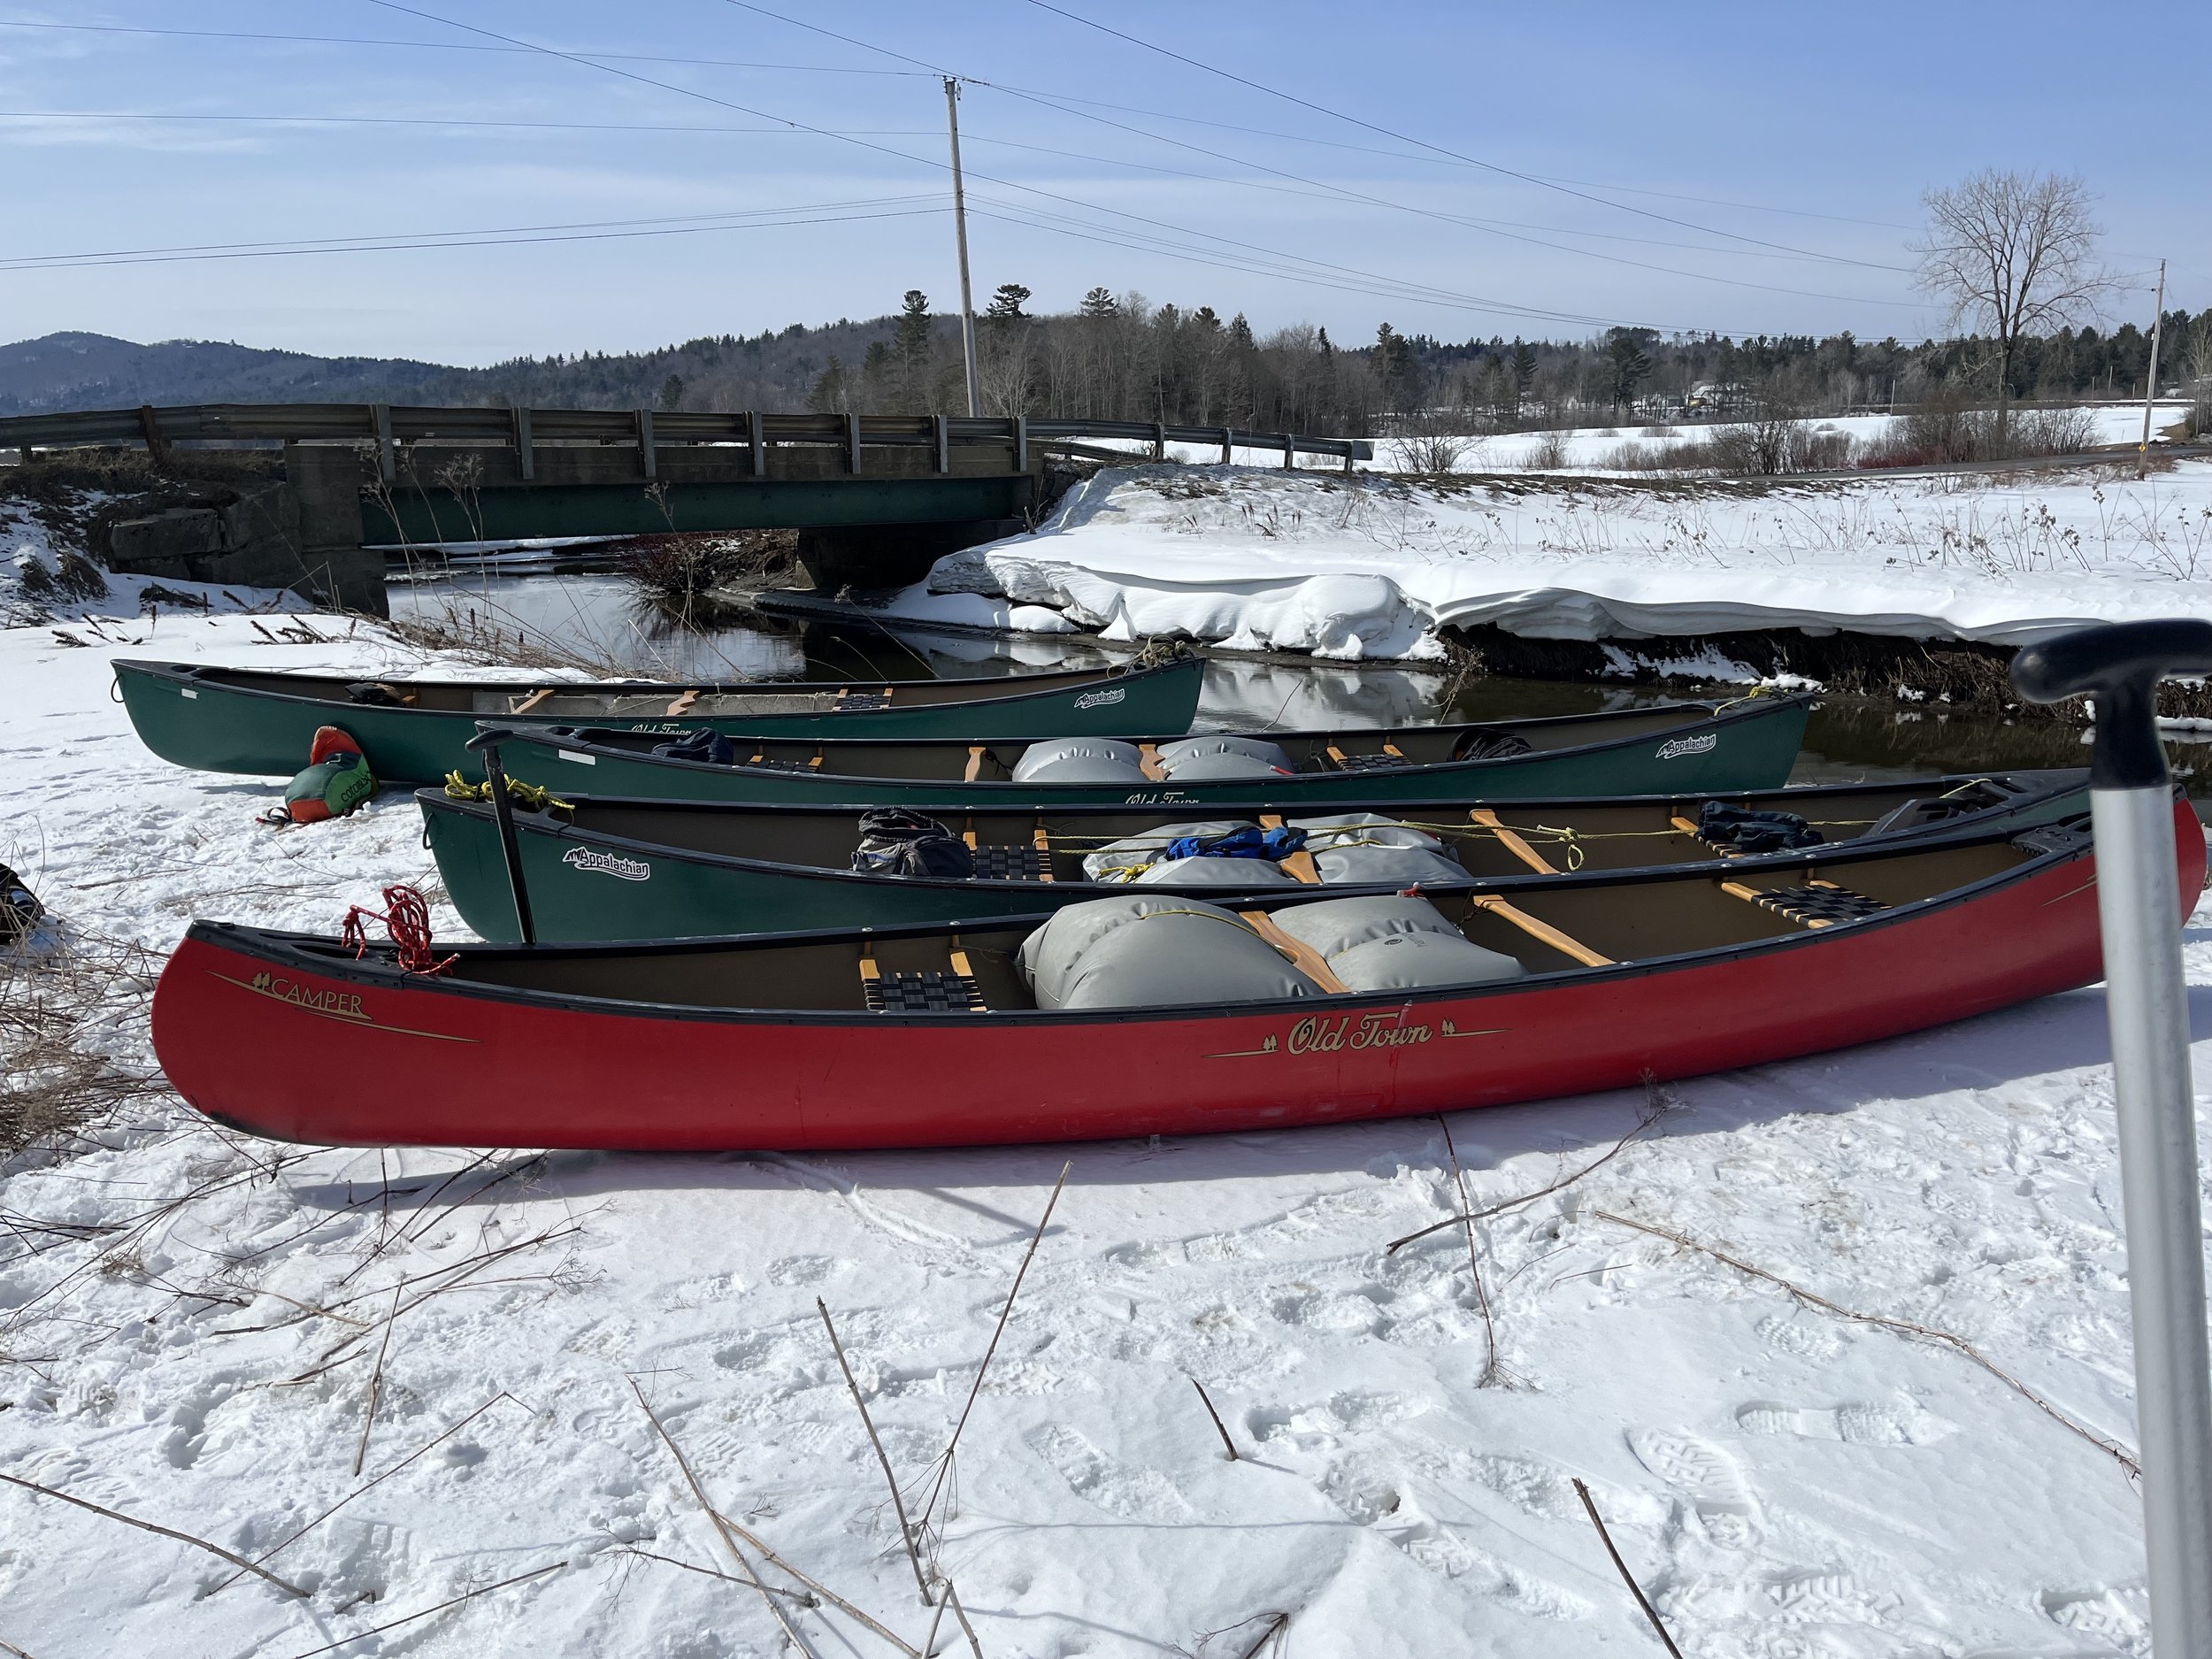
Transport. Make sure to check the canoe trailer thoroughly. Are the lights still functioning properly? It's a good idea to purchase a spare tire and a lug wrench that fits the nuts. Locate the tie-down ropes that were removed from the trailer in the fall to prevent degradation from UV light over the winter. Take the canoes out of the shed and load them onto the trailer.
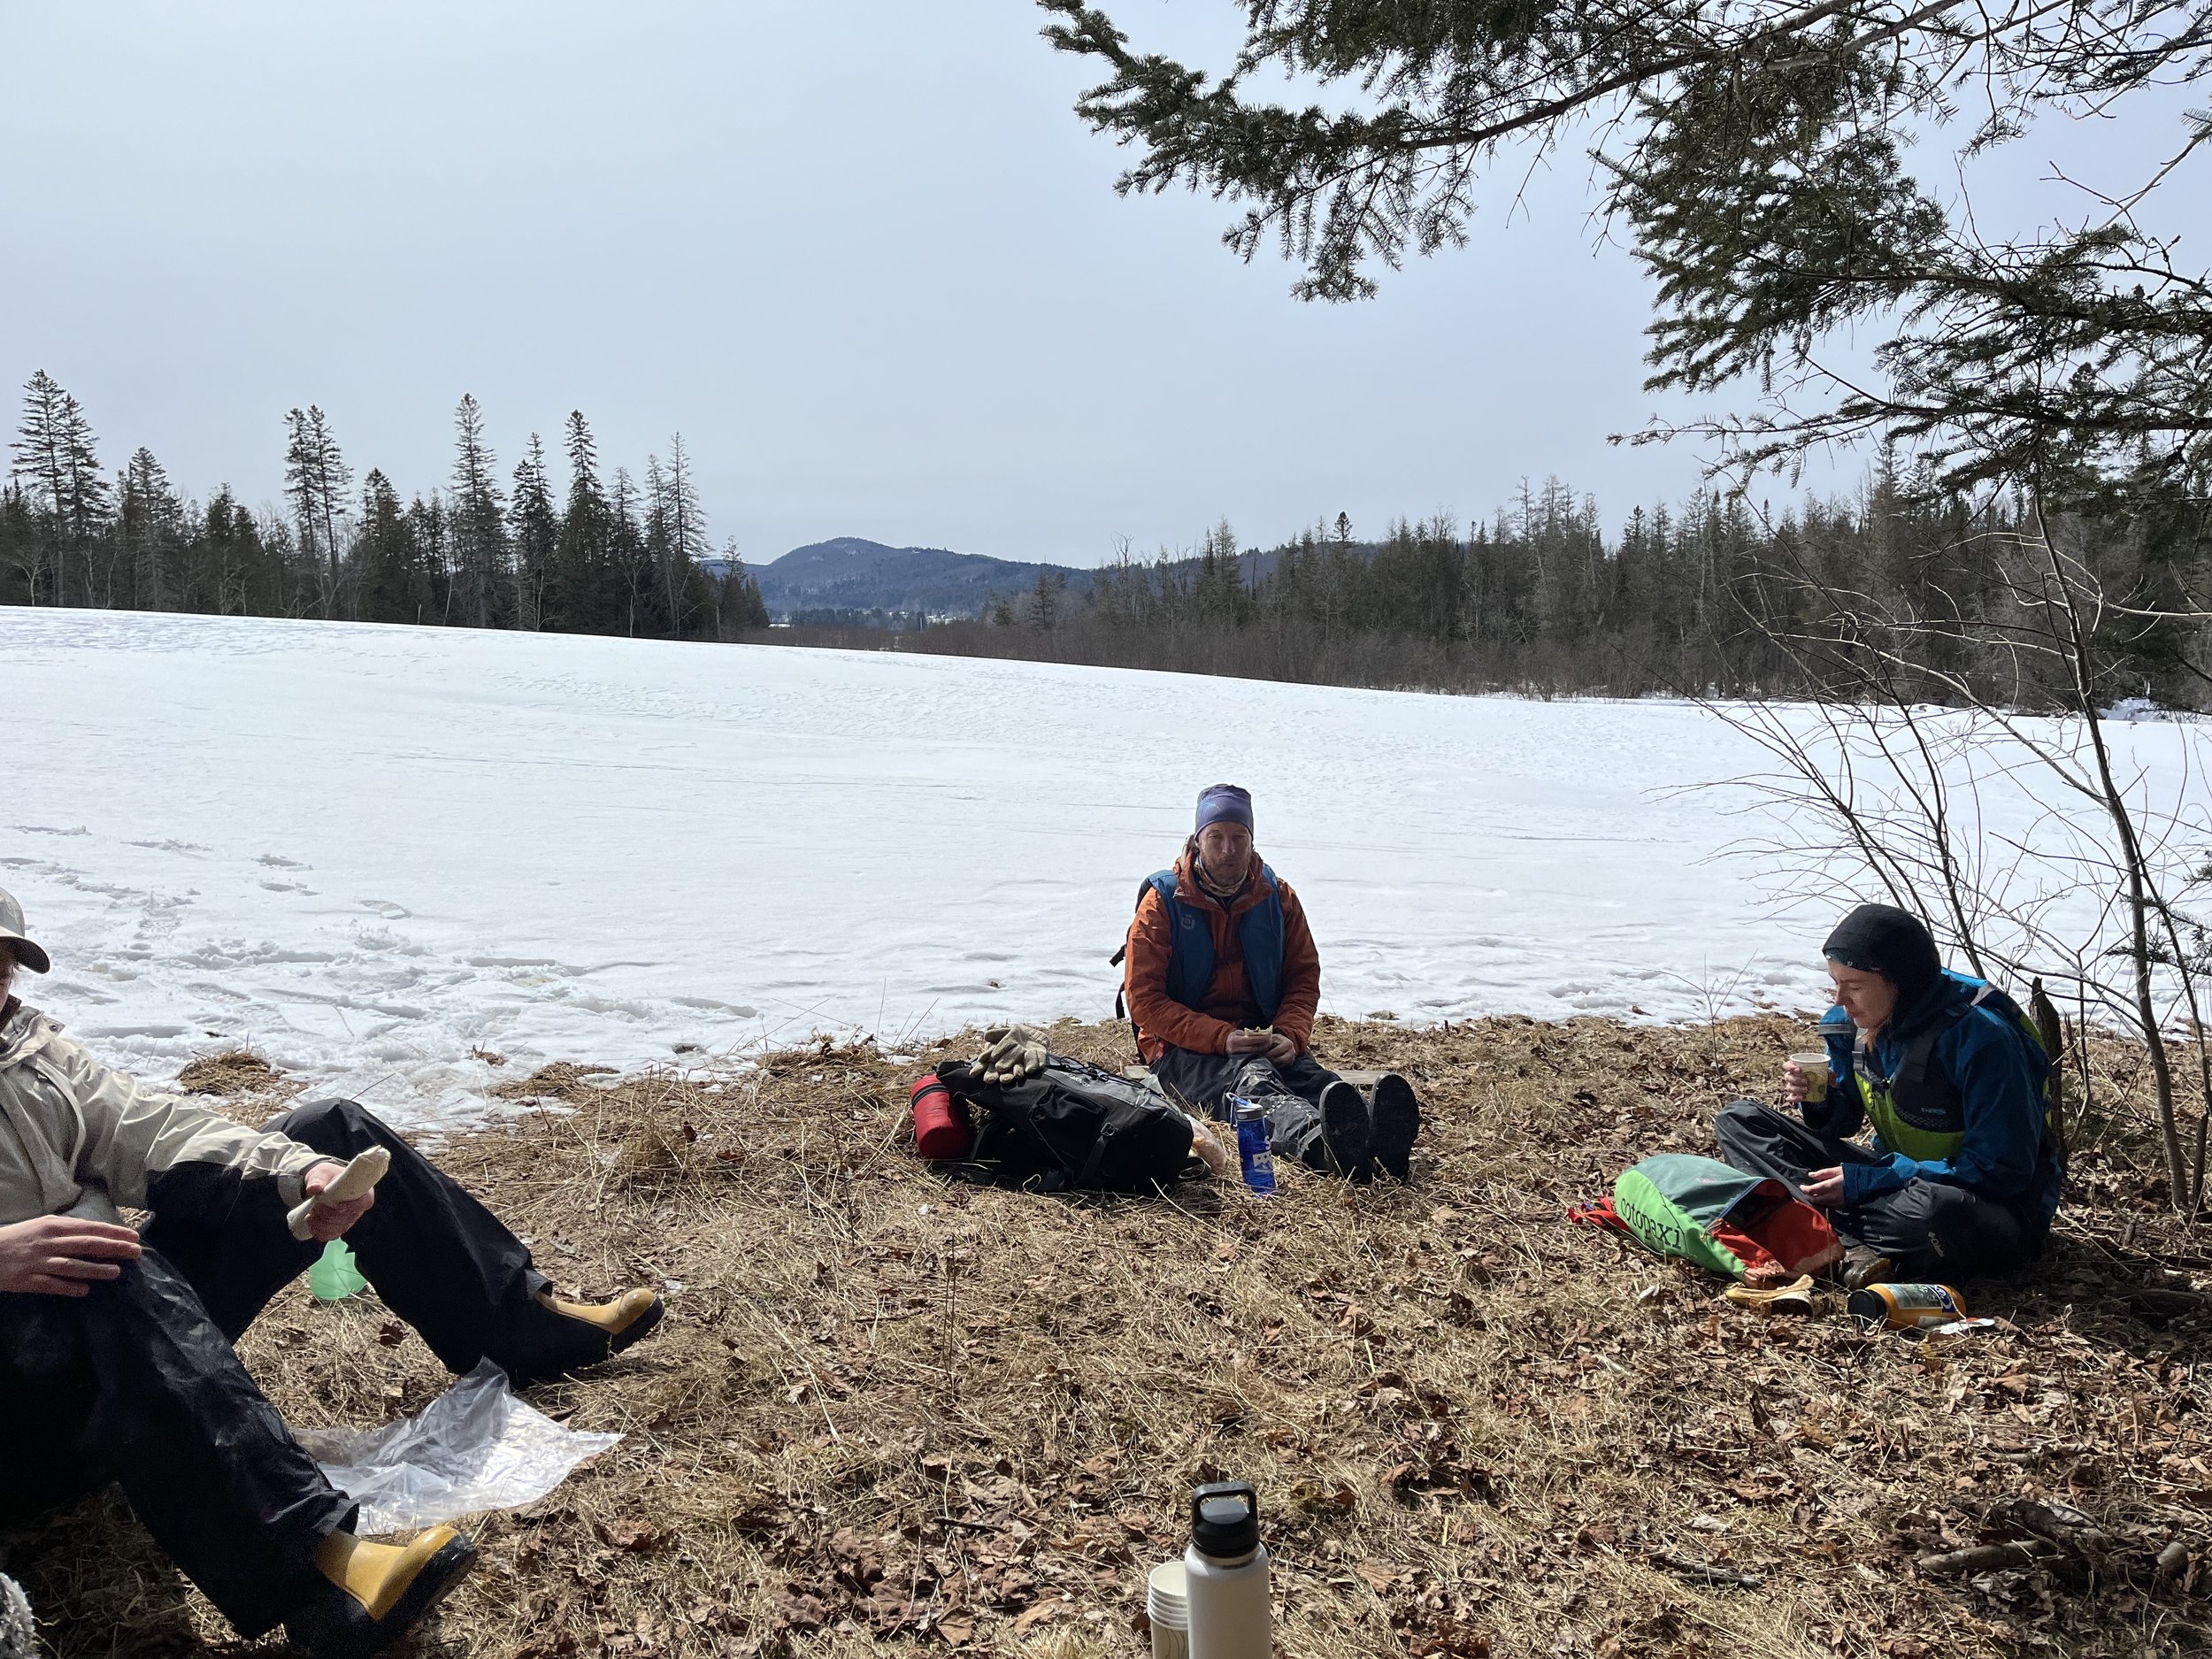
Food. Take the time to plan out the food for lunches on the river. Lucky for us here at the College, Sterling's kitchen offers a delectable super deluxe chocolate chip granola bar. For those chilly days, my indulgence includes a quart of hot chocolate stored in an insulated thermos to keep it warm and comforting.
Floaties. Check the floatation bags that students or paddlers will assist in installing in the canoes. Inflate them to about 80%, securely tie them to the canoe hull, and then finish inflating them to a firm bounce. If they aren’t fully inflating, find and patch the holes. Repeat the process as needed. The floatation bags play a crucial role in facilitating boat rescue in the event of a capsize. In some of the canoes, we utilize additional flotation material in the form of thick foam planks affixed to the sides of the canoe, creating space between the paddlers. This configuration allows for carrying more gear, quickly switching to solo paddling, or accommodating a third person in the middle as a passenger. Sometimes, after a capsize and swim, it becomes necessary to ferry a passenger from one side of the river to the other.
Scratches. Ensure your wooden paddle has a fresh coat of varnish to keep the worn spots from absorbing water. While you are at it, spray some hull repair paint on the worn areas of the bow and stern of the canoes on a warm day. Plastic boats are fantastic for paddling because they glide over rocks without catching. However, with each use, a little bit of the hull material is worn away. Sometimes I try to match the paint to the hull color (five of our canoes are green), but I am using a black gloss this year.
River Scouting. Finally, the fun part begins. Canoe the section planned for the class, allowing for a closer examination while simultaneously developing canoe-specific strength and balance. Scouting a river section before taking a beginner class out paddling is an excellent idea. Not only does it help refresh your memory regarding hazardous or tricky spots, but it also allows for planning specific lessons or maneuvers in suitable areas.
Gear up. Find the first aid kit, throw rope bags, z-drag prusiks and carabiners, toilet kit, and hand sanitizer. I also pack a folding pruning saw and a lighter. The first class often experiences some cold air temps and lighting a fire for warming up or drying out gloves is a great lunch stop feature. I have been known to stash kindling and firewood at my favorite stops.
Clothing. Remind students to bring their clothes, paddles, PFDs, and drinking water. Additionally, ensure that everyone wears non-cotton insulating layers covered by a splash-proof outer layer and waterproof boots. It is important for each person to bring a full change of clothes in their individually waterproofed packs.
Really? On the morning of the first class, get up early to ski down to the river again while carrying a snow shovel to clear a spot on the bank for students to get in and out of the river. Despite the absence of ice, the snow has not yet melted. Happy paddling!
Adrian Owens has been teaching at Sterling College in Craftsbury, Vermont since 1991. Courses include Flatwater paddling, Whitewater Canoeing, and Canoe Trip Guiding. His canoeing exploits include a 1990 canoe voyage from Yellowknife, NWT to Baker Lake, Nunavut via the Back River in Canada, and winning the 2022 downriver Missisquoi Paddle-Pedal race in Richford, VT, and many enjoyable trips on lakes and rivers of Vermont, New Hampshire, and the Adirondacks.